
AI playbook
Unlock the future of productivity with 'Building AI Assistants with Claude Projects'.
Start ReadingFor a year, I've been writing this newsletter entirely by hand. People always asked me why I wasn't using AI to help. I'm an AI guy, for goodness' sake! The truth is: they were never good enough. My standards wouldn't allow me to generate subpar content using ChatGPT and publish it to 60,000 people. No way. And even if I got a draft, I'd spend more time editing it than just writing manually.
This all changed with Claude, specifically Claude Projects. I now use Claude Projects to co-write my newsletters. It's been a sea change - previously, a newsletter would take me 2 hours a day to write; now that's reduced to 45 minutes. This is super important because I'm working on a 250k goal launch right now and need to free up the time!
Here's the kicker: very few people are using Claude Projects. And if you aren't, you're missing out.
This week, I'm showing you how to leverage this (genuinely) game-changing tech. I don’t often get this excited about a new AI release (most are overhyped) but this is super powerful.
Let’s get started:
Introduction to Claude Projects and AI Assistants
Why entrepreneurs and marketers should build AI assistants
Advantages and limitations of using Claude Projects
Types of AI assistants you can create
Brainstorming valuable use cases for your business
Claude Projects let your build out your own personal AI team, ready to tackle any task you throw at them. They're supercharged versions of the Claude AI you might already know and love, but with some serious upgrades.
If you aren’t using Claude yet it’s available here: https://claude.ai/
It absolutely slaps. It’s taken over from ChatGPT in nearly every task for me personally.
Projects are a new addition to Claude. Projects are like mini-programmes you can make in Claude. You can create multiple AI assistants, each with its own speciality. Want an assistant to help with your LinkedIn posts? Done. Need another to proofread your newsletters? Easy peasy. How about one to help with legal document review? You've got it.
But here's the kicker: these assistants aren't just one-trick ponies. They can handle complex, multi-step tasks and retain context over long conversations. It's like having a brilliant intern who never forgets a thing you've told them.
Now, you might be thinking, "Kyle, I can just use ChatGPT or Custom GPTs for this." And you're not wrong. Technically. Well…sorta are! Basically, Claude Projects offer some serious advantages:
Bigger context window: Projects can handle much longer conversations and documents. Perfect for those complex, multi-step tasks.
Bigger memory: ever tried to upload your company SOP into ChatGPT and it was too long? Or an archive of your blog posts? ChatGPT has a baby memory compared to Claude which means we can’t preload it with lots of relevant material.
Better with longer form content: If you're working on anything more substantial than a tweet, Projects have got you covered.
A big limitation to keep in mind:
Claude Projects can't search the web or access real-time information. This is a biggie! Depending on your use case.
But here's the thing: a lot of the time this isn't actually a problem. We're going to be uploading files to the Knowledge Base for the "external" knowledge. This actually gives us more control. We're not relying on relatively random searches but preloading with the specific information we want it to use. It's like creating a curated library for your AI assistant rather than relying on it going to find info online.
Quick comparison:
Use ChatGPT Custom GPTs for: Simple, single-task assistants that need web access.
Use Claude Projects for: Complex, multi-step tasks, handling large amounts of data, and highly customised assistants.
While the possibilities are vast, it's important to focus on tasks that will truly make a difference in your business. The best AI assistants tackle tasks that are:
Repetitive: Tasks you find yourself doing over and over again.
Time-consuming: Activities that eat up a significant portion of your day.
Require consistency: Outputs that need to maintain a uniform style or quality.
Don't require real-time web searching: Tasks that can be completed with a stable knowledge base.
With these criteria in mind, here are some ideas to get your creative juices flowing:
A LinkedIn post writer focused on your industry niche
A product description generator for your e-commerce site
A customer FAQ responder based on your company's knowledge base
A code comment writer for a specific programming language
An email subject line generator for your marketing campaigns
A financial report summariser for your quarterly reviews
Remember, the key is to identify tasks that meet these criteria and are specifically valuable to your business operations. The Importance of Focus
Here's a crucial tip: Focus your assistants on specific tasks. The most common mistake with AI assistants is that people try to make an all-singing, all-dancing assistant. They go way too broad.
It doesn't work - the instructions, knowledge base, and narrowing (more on this throughout the week) will vary for different tasks.
Don't make a "social media assistant" that does Twitter, Facebook, LinkedIn, TikTok, and Instagram posts for you. Instead, focus! - make an assistant just for Twitter. Better yet, make an assistant just for Twitter Threads. The more focused, the better the output.
When I train individuals and companies, this is the number one error I see. Again and again. Remember: master of one, not jack of all trades.
Now, it's your turn. Let's use this prompt to help you brainstorm potential AI assistants for your business:
You are an AI consultant specialising in business process optimisation. Your task is to help the user identify potential AI assistant use cases for their business. Ask the following questions one at a time, waiting for the user's response before proceeding:

1. What industry is your business in?
2. What are your primary job responsibilities?
3. What tasks do you find yourself repeating frequently?
4. Which activities consume most of your time but don't directly contribute to your core business goals?
5. Are there any areas where you struggle to maintain consistency?

Based on the user's responses, suggest 3-5 potential AI assistants they could create, focusing on very specific, narrow tasks. For each suggestion, explain:
- The specific, focused task or role the assistant would handle
- How it would save time or improve consistency
- Potential challenges in implementing this assistant
Here's a sneak peek at what we'll be covering this week:
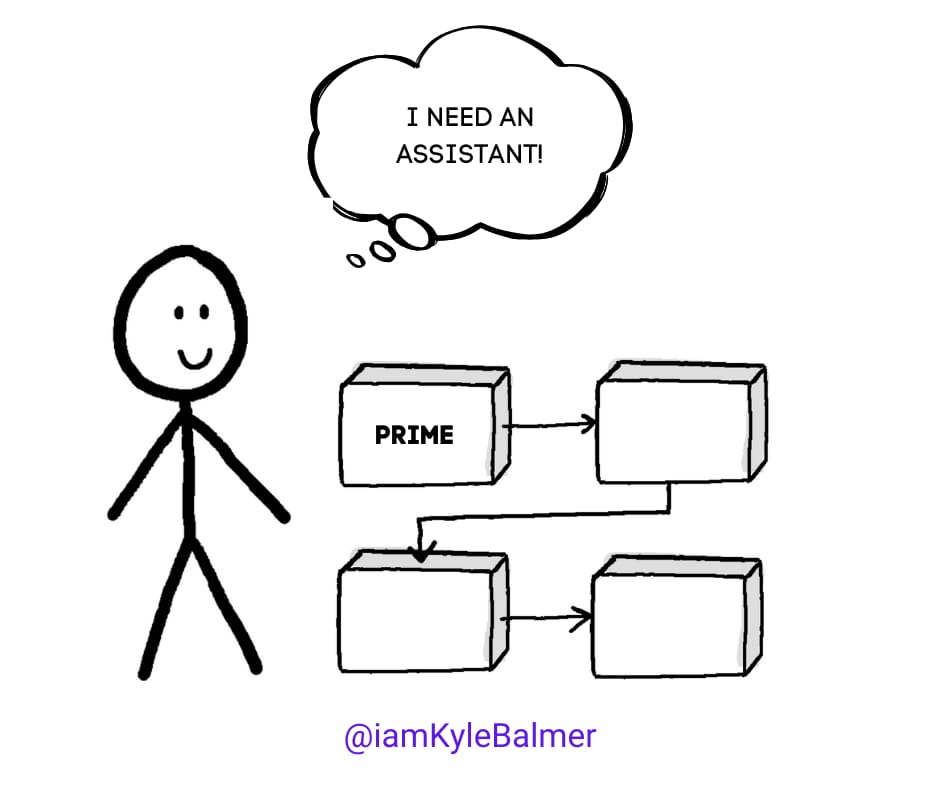
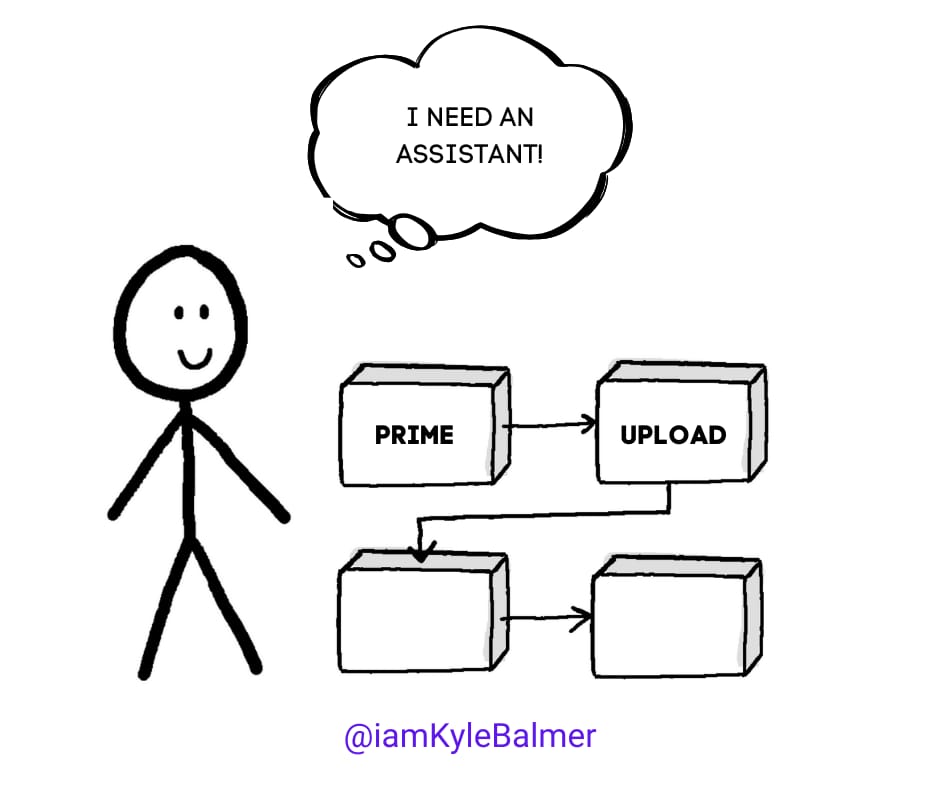
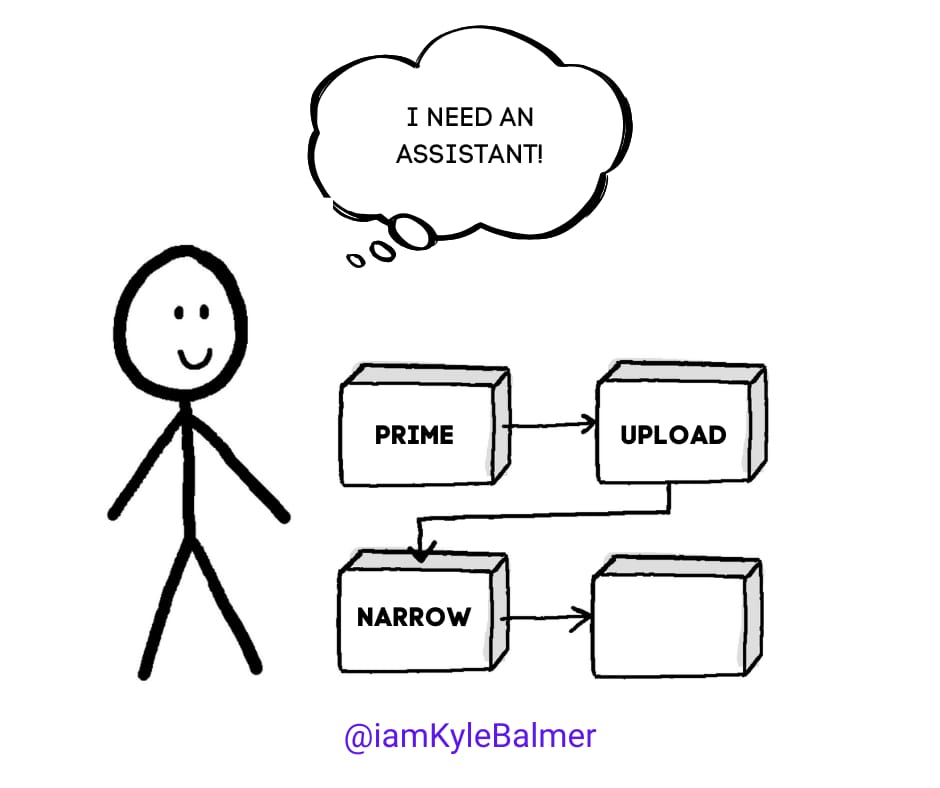
Introduction to Claude Projects and AI Assistants
Priming Your AI Assistant: Setting up for success
Uploading: Building Your Knowledge Base
Narrowing: Testing and Refining Your Assistant
Deploying Your AI Assistant: Putting It to Work
Each Part, we'll dive deep into one of these crucial steps. By the end of this Playbook, you'll have all the knowledge you need to create, refine, and deploy your very own AI assistant using Claude Projects.
Keep prompting
Kyle
For the first year of this newsletter I did not use AI to help my writing process.
At all.
Which…is kinda weird right? I’m an AI guy who spends 2 hours a day writing out “by hand” a newsletter. It’s a bit old fashioned.
Truth be told though the AIs were just not good enough. The results when writing or co-writing using AI were terrible. Not at all up to my standards. I’d spend far longer making edits than if I had just written the damn thing.
But things have changed. Now, I use Claude (specifically Projects) for co-writing, and it's been a game-changer.
This only works now because of three things:
Claude is a good enough model (finally)
I know how to give precise instructions to get the desired end result (I call this Priming and we cover it in this Part)
I have 300,000+ words of past content to give the model (I call this the Upload stage and we’ll cover it in the next Part)
First we’ll cover effective priming. By knowing exactly what I wanted—the format, sections, tonality, audience, and goals—I could give precise, specific instructions.
The result? An AI assistant that finally "got" me, becoming a true co-writer. My newsletter writing time dropped from 2 hours to 45 minutes, without sacrificing quality.
I still don’t write using AI - I instead use it as a ghostwriting assistant. There do remain limitations, which I’ll cover as we go along.
Right now though we're diving into the art of priming your AI assistant.
Let’s get started:
Prime directive
Introducing the RISEN framework for effective priming
Step-by-step guide to priming your AI assistant
Common pitfalls and how to avoid them
Creating priming instructions for your specific AI assistant
Think about hiring a new employee.
You wouldn't expect them to understand a task without precise instructions, would you? And you certainly wouldn't expect them to get it right the first time. The same principle applies to AI assistants.
If you're getting bad results from your AI, chances are it's not the AI's fault—it's yours! Sorry!
As long as the task is suitable and the scope is limited (as we discussed in Part 1), the AI is up for it. The key to success is your priming.
Priming is like giving a new employee a handbook with details about their tasks, standard operating procedures, FAQs, brand guidelines and more.
Without it, you'd get generic work that doesn't align with your expectations. With proper priming, you get an assistant that feels like an extension of yourself.
To streamline the priming process, we can draw on my RISEN™ framework:
R - Role: Define the specific job of your AI assistant
I - Instructions: Provide detailed guidance on how to approach tasks
S - Steps: Break down the process into clear, sequential steps
E - End Goal: Clarify what success looks like for each task
N - Narrowing Refine and focus the assistant's outputs
Here’s a video summary if it’s helpful:
@iamkylebalmer You’re using chatgpt wrong. Learn this basic framework to instantly upgrade your prompt engineering and productivity #ai #artificialintell... See more
This framework ensures you cover all crucial aspects of priming, resulting in a well-prepared AI assistant.
For Claude Projects, we'll use a modified version of RISEN, focusing on the first four elements upfront and leveraging the unique ability to train the tool with feedback for the Narrowing stage later.
Now that you understand the basics of the RISEN framework, let's use it to create priming instructions for your specific AI assistant. We'll use a prompt that takes your business details and desired assistant type, then generates a priming instruction set tailored to your needs.
Here's the prompt you can use to generate priming instructions for your AI assistant. Use this below the output of the previous prompt to pull in the details about what sort of assistant you are building :
You are an AI consultant specialising in creating priming instructions for AI assistants. Your task is to help the user create effective priming instructions for their specific AI assistant.

Ask the user the following questions one at a time, waiting for their response before proceeding:

1. What type of AI assistant do you want to create? (e.g., content writer, customer service bot, data analyst)
2. What industry is your business in?
3. Who is your target audience?
4. What are the main tasks you want this AI assistant to perform? (Focus on doing less tasks for best results)

Based on the user's responses, create a set of priming instructions that includes:

1. A clear definition of the AI assistant's role and responsibilities.
2. Detailed guidance on how to approach tasks, including tone, style, and any specific requirements.
3. A step-by-step process for completing typical tasks.
4. A description of what success looks like for the AI assistant's outputs.

Present the priming instructions in a clear, concise format that the user can directly copy and paste when setting up their AI assistant. Integrate all elements seamlessly into a cohesive set of instructions.

Do not include any irrelevant output like a preamble, only the priming instructions to be copy/pasted by the user.
This prompt will help you create tailored priming instructions for your specific AI assistant.
Remember the important rule of thumb we discussed before: keep your assistant focused! If you try to make it do too much it will output more generic, less valuable results. Keeping it dialled in on one task will greatly increase the quality.
The mechanics of why this is the case will be clear in the next Part when we dive into the "Uploading" phase - how to build a robust knowledge base for your AI assistant. We'll explore what kind of information to include, how to structure it, and how to ensure your assistant can effectively use this knowledge in its outputs.
Keep prompting,
Kyle
As mentioned in the last Part for over a year, I wrote this newsletter entirely by hand, without any AI assistance. It's only recently that I've started using Claude Projects as a co-writer.
This is possible because of DATA. Lots of it.
I have over a year's worth of manually written newsletters to work with.
We're talking about 6 newsletters a week for 50 weeks, totalling over 300 issues.
Each newsletter is 1000+ words, which means we have a corpus of over 300,000 words.
To put that in perspective, it's equivalent to about three average-length novels.
That's a lot of high-quality, relevant data about my writing style.
This massive amount of pre-existing content is the key to the process. When we combine this rich knowledge base with effective priming (which we covered in Part 2), we get top-notch results.
Let’s focus on this critical step: uploading your knowledge base.
Let's get started:
Uploading knowledge
Understanding the importance of a robust knowledge base
Types of data to include (and avoid) in your knowledge base
How to upload data to Claude Projects and handle limitations
Just as a human expert draws upon years of experience and knowledge, your AI assistant needs a wealth of information to produce high-quality outputs. Your knowledge base is essentially your AI's "brain" - the more relevant, high-quality information it contains, the better your AI can perform.
Remember in Part 1 how we talked about one limitation of Claude Projects being its inability to connect to the internet to gather up information? That’s alleviated by the fact that we are going to be giving it the knowledge it needs.
This is super powerful because it allows us to focus the model. When a model can draw on everything it’s more likely to return generic rubbish. But when we give it a high quality, demarcated, focused knowledge base? It’ll be better prepared for the task we’ve primed it for.
Key benefits of a well-built knowledge base:
More accurate and relevant outputs
Ability to handle complex, domain-specific tasks
Consistency with your brand voice and past content
Reduced need for extensive editing
Improved ability to understand context and nuance
This is all about focus and refining a wide, general AI and harnessing it to the specific task.
The specific data you'll want to include depends on your AI assistant's purpose. We’ll use a prompt below to help us with this. Before that though here are some general categories to consider:
Your own content: Blog posts, articles, newsletters, social media posts
Brand guidelines: Style guides, tone of voice documents, brand values
Product information: Descriptions, specifications, FAQs
Customer data: Frequently asked questions, common pain points (anonymised, of course)
Industry knowledge: Relevant studies, reports, or articles (be mindful of copyright)
Examples of successful outputs: Your best-performing content or responses
Be creative here. For instance when people join the waitlist for my AI Workshop Kit one of the questions is to ask applicants what their current role/job is. I feed that information back into my newsletter and social post writing AIs because it’s valuable info on who my customers are, even if it’s not directly from a newsletter poll or social media comments. So think laterally about any and all data you can.
It's equally important to know what NOT to include in your knowledge base:
Irrelevant or outdated information
Confidential or sensitive data
Low-quality or poorly written content
Copyright-protected material you don't have permission to use
Remember, your AI assistant can only be as good as the data you feed it.
Before you upload your data, it's crucial to prepare and structure it properly.
For example clean your data by removing any irrelevant or outdated information. For instance if you are importing text from your website or blog clean out any extra HTML/CSS. Or if you have a large spreadsheet with customer information delete any irrelevant columns that will just take up space.
That said, don't get too precious about cleaning your data. While clean, well-structured data is ideal, Claude is pretty smart and can parse through less-than-perfect information. Give it a hand with some basic cleaning and organisation, but don't kill yourself trying to make everything perfect. The AI is often capable of extracting valuable insights even from somewhat messy data.
When uploading data to Claude Projects, keep in mind these important limitations:
Context Window Size: Claude Projects provides a percentage-filled bar to show how much of the context window you've used. Always keep an eye on this to ensure you're not overloading the system. This is the primary reason to clean and cut data in the previous step.
File Limit: You can only upload 5 files at a time. Need more? Upload 5, then 5 more, then another 5 etc.
File Types: Ensure your files are in a compatible format. Text files and PDFs usually work best. Remember that certain file type (like PDFs and images) are larger file sizes so where possible extract their contents into another format (ie. extract the text from a PDF to .txt)
If you're having issues with uploads, don't hesitate to ask Claude itself for help. It's a bit meta, but Claude can often provide insights into why certain uploads might be failing or how to optimise your files!
Again, and sorry to sound like a broken record, focus is the key. If you find yourself maxing out the memory and hitting file upload limits chances are you are trying to get Claude to do too wide a task and trying to give it everything and the kitchen sink in order to do so.
If this turns out to be the case step back and see whether the task can be broken down into sub components.
Social media assistant → Social media post creator → Twitter post creator → Twitter threads post creator
An all singing, all dancing social media assistant is a lovely idea but it’s too wide. Focus the scope down for better results.
Now that you've used the prompt from Part 2 to create priming instructions for your AI assistant, let's build on that to determine what data you should upload.
Use this below your previous work to draw in the priming instructions.
Here's the prompt to help you plan your knowledge base:
You are an AI consultant specialising in knowledge base creation for AI assistants. Your task is to help the user plan an effective knowledge base for their specific AI assistant, based on the priming instructions they've already created.

Ask the user to provide their priming instructions for their AI assistant.

Based on these instructions, provide:

1. A list of 5-7 key categories of information to include in their knowledge base, specifically tailored to support the assistant's defined role and tasks.

2. For each category, suggest 2-3 specific types of documents or data sources to upload. These should directly relate to the instructions and expected outputs of the AI assistant.

3. Recommend 3-5 best practices for preparing this specific data for upload, keeping in mind the balance between data cleanliness and effort required.

Present your recommendations in a clear, actionable format.
I’ve had to talk in generalities about how to build your knowledge base because it will depend entirely on your goals for your AI assistant.
This prompt will combine the above guidelines with information about your AI assistant and come up with tailored suggestions.
Remember, the quality and relevance of your data will directly impact the quality of your AI's outputs, but don't let perfect be the enemy of good. Your AI can work with less-than-perfect data, so focus on getting the most relevant information uploaded efficiently.
This is particularly true because of the next step - Narrowing.
In the next part, we'll explore the "Narrowing" phase - how to refine and focus your AI assistant's outputs through feedback and iteration.
Get ready to take your AI assistant from good to great!
Keep prompting,
Kyle
Imagine being able to work with your AI assistant at any time, at the drop of a hat. That's the reality I'm living with my AI assistants right now.
For instance with Playbook Parts like this one, I go back and forth with Claude 15-20 times, providing feedback and refining the output until it's just right.
The beauty of this process hit home the other day when I was on a London bus, heading to a meeting. There I was, casually running a few rounds of revisions with Claude, further narrowing and improving the newsletter issue I was working on. This flexibility is a game-changer – it's like having a tireless assistant always at your beck and call. But that’s just a nice bonus!
Here’s the real power: the more I engage in this back-and-forth, the better my AI assistant becomes.
It's constantly learning exactly what I want, refining its understanding with each interaction. This is the power of the 'Narrowing' phase, and it's what we're diving into today.
Let's get started:
Narrowing it down
Understanding the importance of narrowing
Techniques for providing effective feedback
Iterative improvement through repeated corrections
Best practices for narrowing your AI assistant
Remember when we talked about the RISEN framework for priming? We dropped the 'N' there, promising to come back to it.
Well, here we are! – Narrowing is that crucial final 'N'.
Narrowing is the process of refining and focusing your AI assistant's outputs through feedback and iteration. Importantly it’s a process. It’s not one and done and it's what transforms a good AI assistant into a great one.
If Priming (covered in Part 2) is like giving detailed onboarding instructions to a new employee then Narrowing is like providing constructive feedback on their tasks.
Both are vital – we'd do both with a human assistant, so why not with an AI?
Instead we get back poor first drafts from an AI and think, "the AI is bad". But that's not the case – we need to help it hone in on what we need, just like we would with a human assistant.
The key to successful narrowing is providing clear, constructive feedback. Remember, this is a conversation:
Use natural language: Just talk to your AI as you would to a human. Imagine you were sitting with a person giving feedback and you’ll do just fine.
Be specific: Point out exactly what works and what doesn't, down to individual words if required.
Explain why: Give reasons for your preferences. The more context you give the better.
Provide both positive and negative feedback: We tend to only give negative feedback but telling the AI what parts you liked is just as important. "This bit is good because..." and "This part needs work because..." are both required to help the AI hone in on your preferences.
Take your time: Unlike a human, AI has infinite patience. If it takes 20 rounds of revisions, so be it! Do that with a freelancer or staff member normally and you’d be wasting their time. But the AI doesn’t care!
Narrowing is not a one-and-done process. It's about continuous, iterative improvement.
I like to think of it like sculpting (as if I can sculpt!) - you start with broad strokes, chipping away at the major issues first. This is things like “move this 4th paragraph section further up” or “this intro needs to be more punchy”.
As the shape begins to emerge, you move to finer tools, addressing more nuanced aspects of your AI's output. Maybe it’s written too many numbered lists (Claude loves lists…) and you want more prose - great, feed that back and it’ll go easy on the lists from now on.
Once you are basically happy with an output there’s a powerful final step you can take.
Go ahead and copy/paste or download your output from the AI and complete your final human edits and revisions until the final piece is ready to publish/deploy. For instance I’ll do all my final edits inside my newsletter software beehiiv.
Once all done we want to show our assistant the final product. Copy/paste back your final final version to Claude and tell it that this is end result. This gives it a golden example to learn from, allowing it to compare its work with your polished, human-edited final product. It's like providing a model answer - it helps the AI understand exactly what you're aiming for.
Remember, the goal of narrowing is to create an AI assistant that feels like a natural extension of yourself or your team. It's about infusing your unique knowledge, style, and expertise into the AI.
This might take time. But remember that once you’ve knocked your assistant into a place where it’s consistently producing solid outputs you now have a very powerful tool for repeat work. Training a human takes time and energy - the exact same is true with your AI assistant.
Keep prompting,
Kyle
Remember when I first started using Claude Projects? It felt like I'd finally unlocked the true promise of AI. I had a finely-tuned assistant that could co-write with me week after week, slashing my daily newsletter writing time from 2 hours to just 45 minutes. Easy street, right?
Premium readers, find them in the Playbook Vault.
Keep prompting,
Kyle
Unlock the future of productivity with 'Building AI Assistants with Claude Projects'. This playbook is your comprehensive guide to leveraging Claude Projects to create bespoke AI assistants that transform your business operations. Say goodbye to repetitive tasks and hello to a streamlined workflow that saves you time and enhances your output. Whether you're crafting social media posts, drafting newsletters, or reviewing documents, this playbook will show you how to automate these processes effectively, allowing you to focus on what truly matters: growing your business and achieving your goals.
This playbook is designed for entrepreneurs, marketers, and business owners who are eager to harness the power of AI but have been overwhelmed by the myriad of options available. If you're struggling with time management and tedious tasks that drain your creativity, this guide will provide you with actionable insights to create AI solutions that enhance your productivity. It's perfect for those who want to stay ahead of the competition by leveraging cutting-edge technology to streamline their operations and improve their content quality.
No prior experience is necessary! This playbook is designed to guide you step-by-step through the process of creating AI assistants, making it accessible for beginners and experienced users alike.
The time investment varies based on your specific goals, but you can start seeing results within a few hours of applying the techniques outlined in the playbook.
You can automate a wide range of tasks, including content creation, customer service responses, social media management, and document reviews, among others.
Yes! You'll gain access to a community of like-minded individuals and ongoing updates to ensure you stay informed about the latest developments in AI assistance.
Absolutely! Many users have reported significant time savings, allowing them to focus on higher-value activities while their AI assistants handle repetitive tasks.